

A Practical Guide to Brewing Espresso at Home
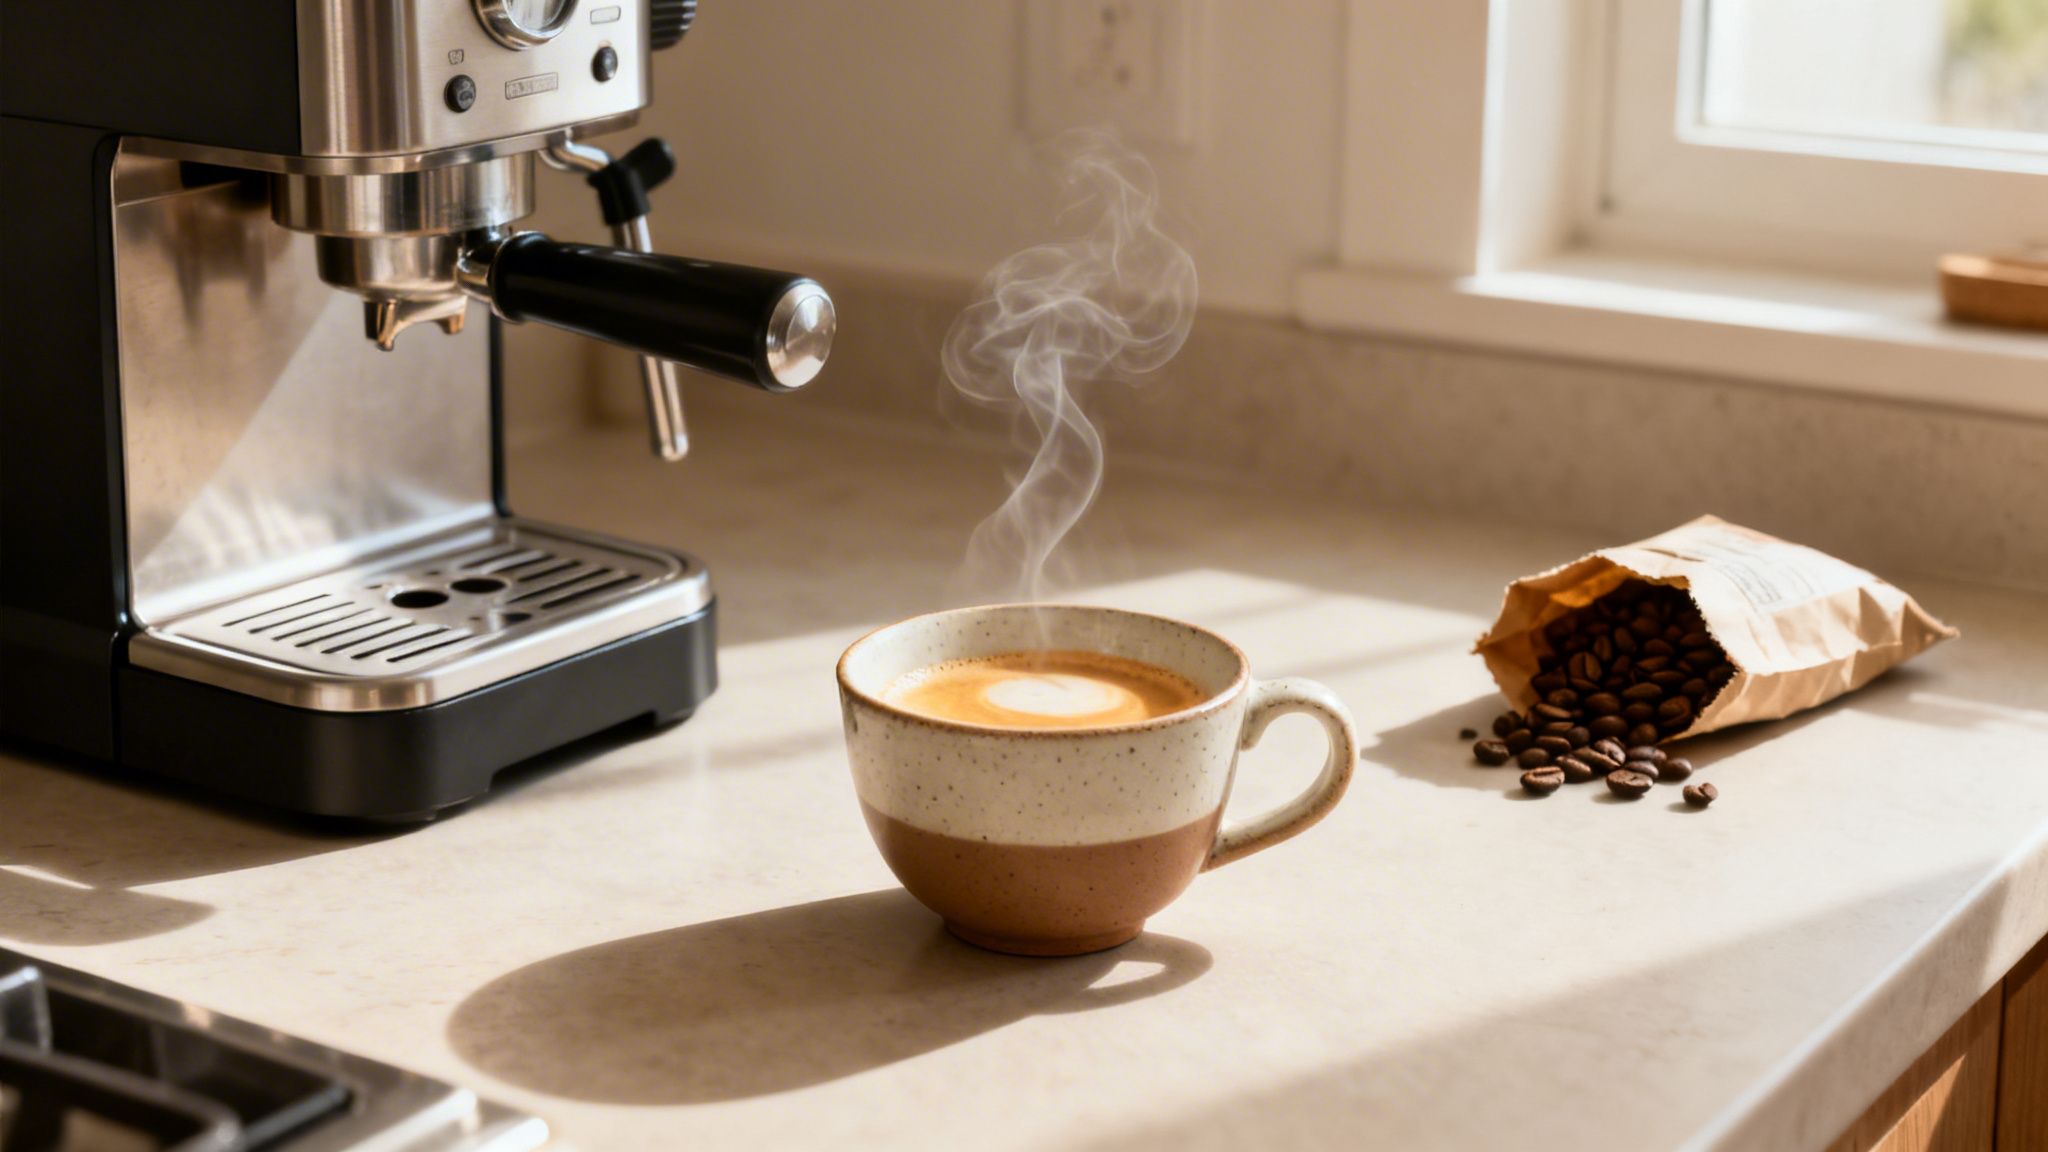
So, you want to make incredible espresso at home? You've come to the right place. At its heart, espresso is beautifully simple: finely ground coffee, hot water, and a whole lot of pressure. It's that intense process that transforms humble beans into the concentrated, syrupy shot of liquid gold we all love—the base for everything from a punchy Americano to a creamy latte.
Mastering this craft isn't just about making coffee; it's about bringing the soul of your favorite café right into your own kitchen. It's a rewarding ritual, and I'm here to walk you through it.
Your Journey to Better Home Espresso Starts Here
Diving into home espresso can feel a little daunting. The gleaming machines, the fancy terminology, the seemingly endless variables—it's a lot. But trust me, pulling a truly delicious shot with that perfect balance of sweetness, acidity, and body is more achievable than you think. You don't need a professional barista license to do this.
This guide is designed to cut through the noise and give you a clear, practical path forward. We'll start with the essentials, from picking the right beans to understanding how your grinder and espresso machine work together. Think of this as your roadmap from curious coffee lover to confident home barista.
The Rise of the Home Barista
If you've found yourself dreaming of upgrading your morning cup, you're in good company. The home espresso scene has exploded. The global market was recently valued at a staggering USD 4.12 billion and is expected to nearly double by 2033.
This boom really took off when our daily routines shifted a few years back. In 2021 alone, home espresso machine shipments jumped by 25% as more of us looked to bring that café experience home. You can dig into the numbers yourself in the full market report.
But this isn't just about saving a trip to the coffee shop. It's about a deeper connection to the coffee itself. When you brew at home, you’re in control. You get to tweak every little detail—the grind, the dose, the temperature—to craft a shot that’s perfect for you.
While espresso is a fantastic rabbit hole to fall down, it’s just one of many ways to brew. If you're curious how it stacks up against other methods, our guide on the best coffee brewing methods is a great place to compare it to things like pour-over or French press.
The beauty of home espresso is that every shot is an opportunity to learn. A sour shot tells you to grind finer; a bitter one tells you to grind coarser. It's a delicious feedback loop that puts you in the driver's seat.
With a little guidance and some hands-on practice, you'll be unlocking incredible flavors from the amazing beans sourced by our partner growers. Let’s get you started with confidence, ready for that perfect first pull.
Choosing the Right Gear and Perfect Beans
Every great shot of espresso starts with two things: the right equipment and incredible coffee. Get these two pillars right, and you've already won half the battle. Think of it this way—your gear is the instrument, but the beans are the music. You need both working in harmony to create something special.
Diving into the world of home espresso gear can feel a little overwhelming at first, but it really just boils down to finding tools that fit your budget, your counter space, and how deep you want to get into the process. Trust me, there’s a perfect setup for everyone.
Selecting Your Espresso Machine
The espresso machine is the heart of your coffee bar. Most home machines fall into a few different camps, and knowing the difference will help you find your perfect match.
- Semi-Automatic Machines: These are the go-to for most home baristas, and for good reason. They handle the tricky stuff like pressure and temperature but leave you in complete control of starting and stopping the shot. It’s the ideal way to learn the craft and experiment with your coffee.
- Manual Lever Machines: For the true coffee purist who wants to be part of every step. With a manual machine, you are the pressure. You physically pull a lever, making the process incredibly tactile and rewarding. It takes practice, but the shots you can pull are out of this world.
- Super-Automatic Machines: If your morning routine is all about speed and convenience, this is your machine. It does it all—grinds, tamps, brews, and sometimes even steams milk—all at the push of a button. You trade some control for that convenience, but it's a worthy tradeoff for many.
Whichever path you choose, your machine has a non-negotiable partner: a quality grinder.
Why Your Grinder Is So Important
Let's be clear: a quality burr grinder is the single most important piece of equipment you can buy for brewing espresso at home. I can't stress this enough. If the machine is the heart, the grinder is the brain.
Unlike cheap blade grinders that just smash beans into inconsistent chunks, a burr grinder mills them into a uniform size. That consistency is everything for espresso. It allows water to flow through the coffee evenly, extracting all the good stuff without creating sour or bitter flavors. An inconsistent grind forces water to find the easiest path, leading to a weak, disappointing shot.
My advice? Never skimp on the grinder. A great grinder with an okay machine will always, always make better espresso than an amazing machine with a bad grinder.
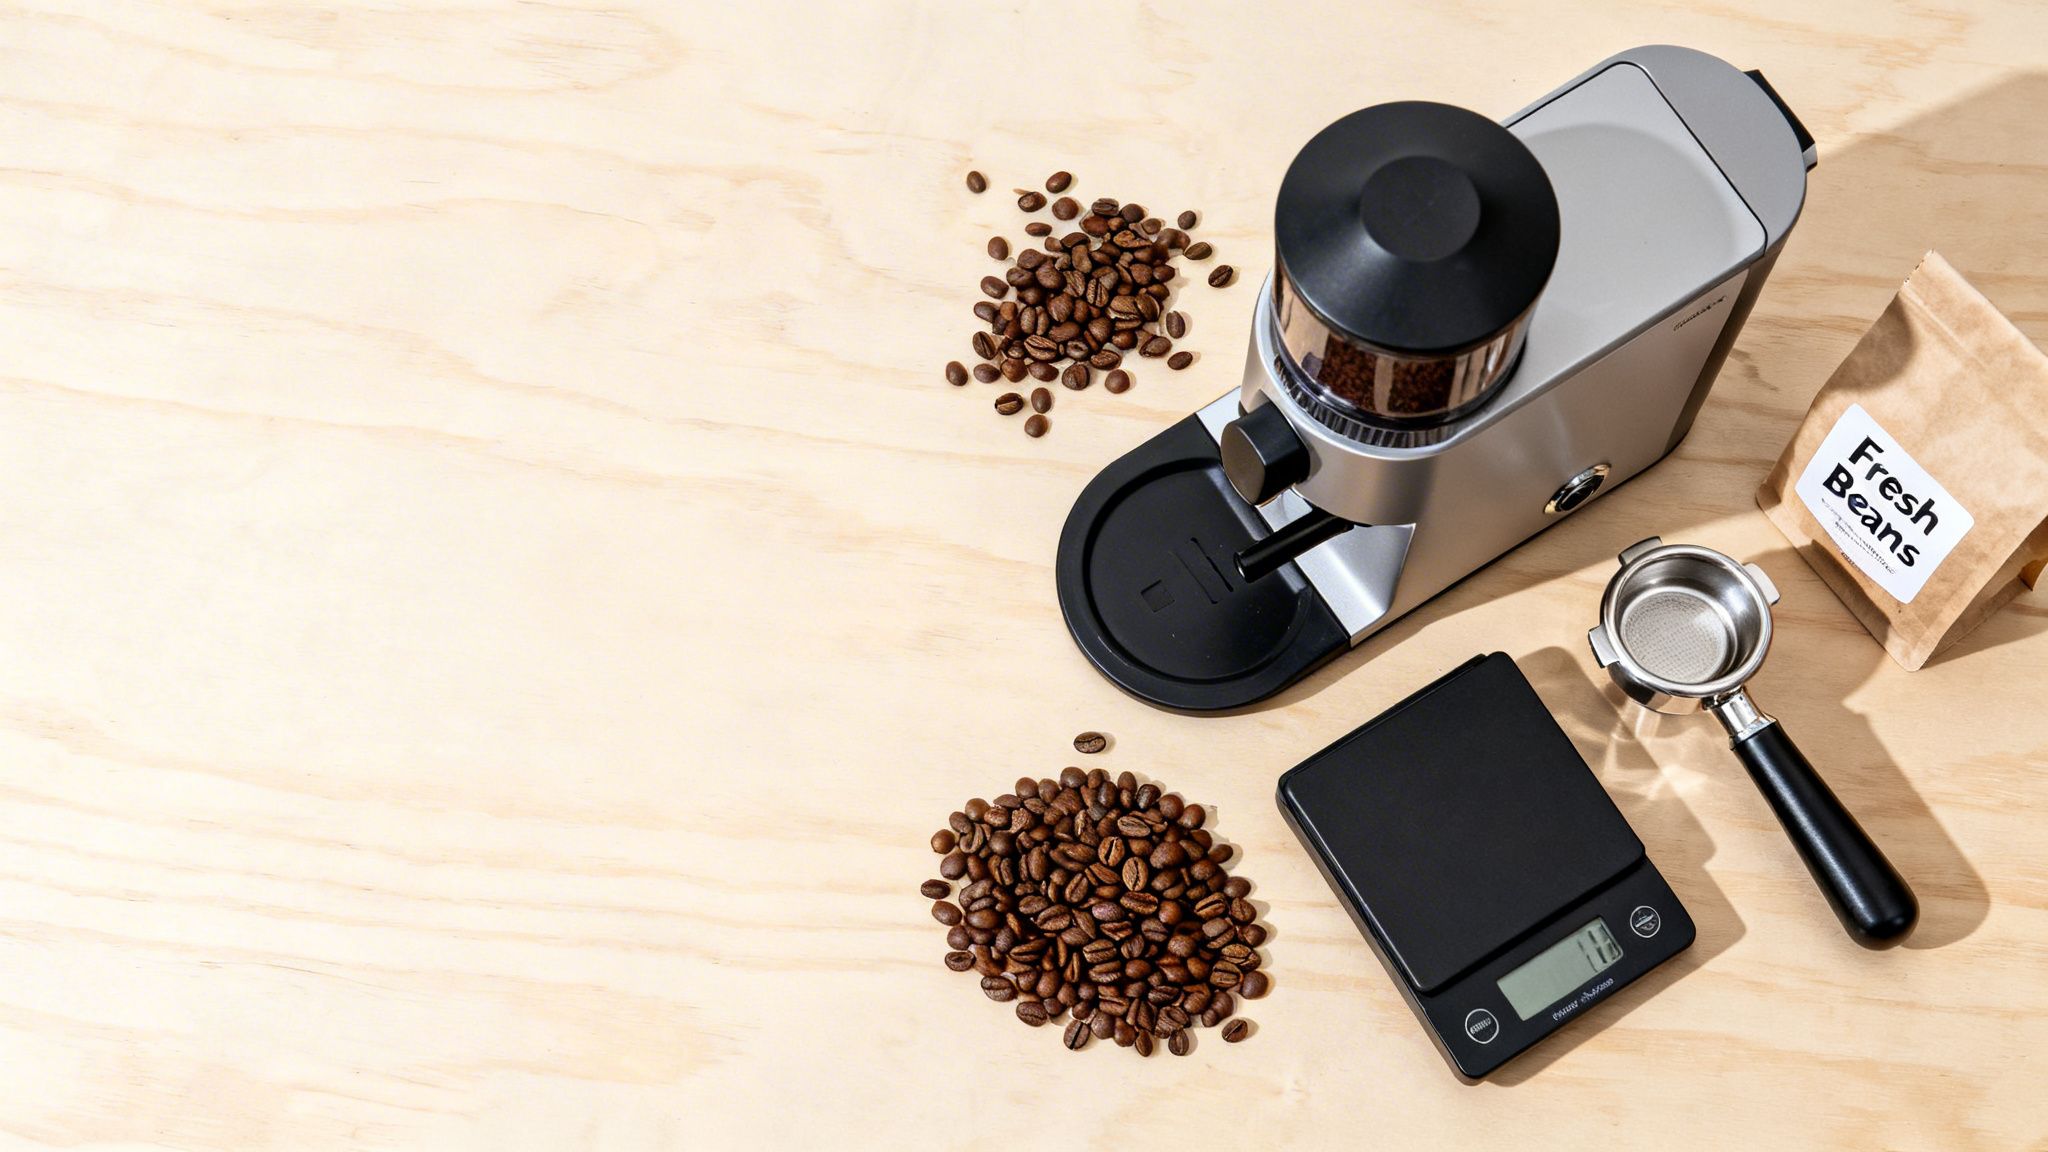
A couple of other small tools are also key for consistency. You'll want a digital scale that reads to 0.1 grams to weigh your ground coffee and your liquid espresso. A good tamper is also essential for compressing the grounds into a perfectly level puck.
Having the right gear is only half the battle. The freshest, most flavorful beans are what truly bring your espresso to life. You can have the best equipment in the world, but it can't save stale, low-quality coffee.
Finding the Perfect Beans for Your Palate
Okay, on to the fun part: the coffee itself. The beans you choose completely define the character of your shot. At Beans Without Borders, we live for sourcing coffees from incredible growing regions, each with its own unique story to tell.
When it comes to espresso, you generally have two paths you can go down:
- Espresso Blends: These are carefully crafted combinations of beans from different origins, designed to create a balanced, consistent flavor that shines in milk drinks. Think classic notes of chocolate, nuts, and rich caramel.
- Single-Origin Coffees: This is where things get exciting. A single-origin coffee comes from one specific farm or region, showcasing the unique flavors of that place. You might get bright, floral notes from an Ethiopian Yirgacheffe or a smooth, brown sugar sweetness from a Peruvian. It's an adventure in a cup.
So, which is for you? If you love a classic, rich latte, start with a blend. If you’re feeling adventurous and drink your espresso straight, try exploring single origins. To help you figure it out, we put together a guide on how to choose coffee beans that you'll love.
The best way to find what you love is simply to taste. Our Sampler Packs were made for exactly this—they let you take a tour of different roast profiles and regions. It’s the perfect way to find the beans that make you excited to fire up your machine every single morning. We highly encourage you to browse our selection and find the perfect coffee for your brewing journey.
Developing a Consistent Espresso Workflow
Alright, you've got the gear and some incredible beans. Now comes the fun part: turning that potential into a delicious reality, shot after shot. This is all about building muscle memory. A consistent workflow isn't about being a robot; it's about eliminating the random variables so you can focus on what really matters—the taste in your cup.
Let's move beyond guesswork and crossing our fingers. We're going to build a simple, effective routine you can lean on every single morning. This process, often called 'dialing in', is the true secret to unlocking everything your coffee has to offer.
The Foundation of a Great Shot: The Espresso Recipe
At its heart, every espresso shot follows a basic recipe that balances three critical elements. Get this relationship down, and you're on your way to pulling consistently amazing shots.
- Dose: This is simply the weight of your dry coffee grounds in the portafilter basket. Think of it as your anchor; keep it constant while you're figuring out the other variables.
- Yield: This is the weight of the liquid espresso that ends up in your cup. It's what determines the strength and body of your shot.
- Time: This is the total time the water is in contact with the coffee, from the second you hit the brew button to the moment you stop it.
For most coffees we offer, a 1:2 brew ratio is a fantastic place to start. It’s a classic for a reason. All it means is that for every gram of coffee you put in, you want to get two grams of liquid espresso out.
Your Starting Recipe:
- Dose: 18 grams of ground coffee
- Yield: 36 grams of liquid espresso
- Time: Aim for 25–30 seconds
This isn't some unbreakable law, but it’s an excellent baseline. Consider it your North Star as you start out. Once you get comfortable, you can start tweaking these numbers to bring out different flavors.
Preparing the Perfect Puck
How you prepare the grounds in your portafilter—what we call 'puck prep'—has a huge impact on your final shot. The goal is simple: create a compact, perfectly level bed of coffee so that water flows through it evenly. If it's uneven, water will find the path of least resistance (a phenomenon called 'channeling') and you'll end up with a sour, watery shot.
First things first, weigh out your whole beans (let's stick with our 18g starting dose) and grind them fresh. The right grind size is absolutely crucial. You're looking for something that feels just a little finer than table salt. If you really want to get into the weeds on this, we put together a complete guide on how to grind coffee beans at home that covers all the details.
With your coffee ground into the portafilter, you need to distribute it. You can do this by gently tapping the side of the portafilter with your palm or using a nifty distribution tool. The main thing is to break up any clumps and create a nice, flat surface before you tamp.
Next up, tamping. Using your tamper, press down on the grounds with firm, even pressure. You're not trying to set a world record for strength here; the goal is just to compress the coffee into a solid, level puck. A consistent 30 pounds of pressure is a great target. The trick is to keep your wrist straight and your elbow at a 90-degree angle to make sure the tamp is perfectly flat.
Pulling the Shot: A Step-by-Step Routine
Your puck is prepped and ready. It's time for the main event. Having a repeatable sequence of actions will make a world of difference in your consistency.
- Purge the Group Head: Before you lock in the portafilter, run the group head for a few seconds. This flushes out any stray old grounds and, more importantly, stabilizes the water temperature. This ensures your coffee is hit with water at the perfect brewing temp right from the start.
- Lock and Go: Firmly lock the portafilter into the group head. Immediately place your scale and cup underneath, hit 'tare' on the scale to zero it out, and start the shot. Starting a timer at the exact same moment is key.
- Watch the Magic Happen: For the first few seconds, nothing will happen. Then you’ll see thick, dark droplets appear, which will slowly come together into a single, syrupy stream. The color should look like warm honey.
- Hit Your Target: Keep your eyes glued to that scale. As the weight of the espresso gets close to your target yield (36g in our example), get ready. Stop the shot right as it hits the mark.
- Check Your Time: Now, glance at your timer. Did it take between 25–30 seconds? If it did, you're right in the sweet spot! If it was way faster or slower, you now know exactly what to adjust next time (hint: it's almost always the grind size).
Now, give that shot a taste. Is it balanced? Sweet? Rich? If so, high five! You just pulled a fantastic shot of espresso. If something seems a little off, don't sweat it—we'll cover how to troubleshoot and fix common issues in the next section. This whole process, from grinding the beans to tasting the result, is the beautiful ritual of making espresso at home.
How to Diagnose and Fix Common Espresso Issues
Think of a bad espresso shot not as a failure, but as a conversation. Your machine and the taste in your cup are giving you direct feedback, and learning to interpret it is the secret to making delicious espresso at home. Every single home barista goes through this—it’s a rite of passage.
Don't get frustrated. Each attempt is just a step closer to mastering the relationship between your specific beans, grinder, and machine. Most of the time, your problems will boil down to one of two things: the shot is too fast and sour, or it's too slow and bitter.
This little decision tree is a fantastic visual for troubleshooting. It cuts through the noise and connects your shot's time and taste directly to the most likely fix: adjusting your grind.
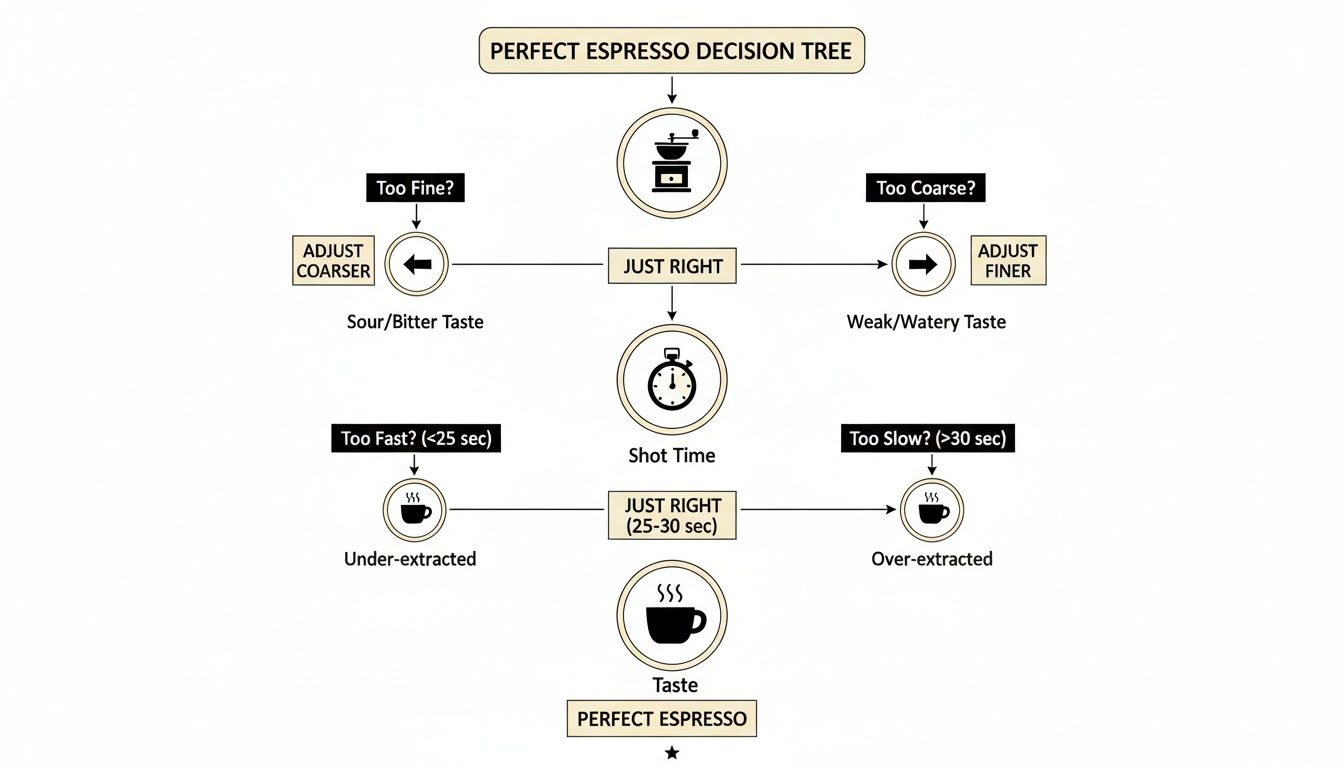
As you can see, your grinder is the steering wheel. It's the main tool you'll use to navigate away from sour or bitter flavors and find that perfectly balanced, sweet shot.
The Sour Shot (Under-Extraction)
Does your shot gush out in less than 20 seconds? Does it taste aggressively tangy, sharp, or sour? That’s under-extraction. It means the water blasted through the coffee grounds way too fast, leaving all the good, sweet stuff behind.
It's a straightforward fix: you just need to slow the water down.
The number one cause of a fast, sour shot is a grind that's too coarse. The large coffee particles create big gaps for the water to rush through, offering almost no resistance. The first and only thing you should do is adjust your grinder one step finer.
Making the grind finer increases the surface area and packs the coffee bed more tightly. This forces the water to work harder and take its time, extracting much more flavor on its way through the puck.
The Bitter Shot (Over-Extraction)
Now for the opposite problem. Your shot is choking the machine, dripping out painfully slow, and taking well over 35 seconds to finish. The espresso tastes harsh, ashy, and unpleasantly bitter, leaving a dry feeling in your mouth. This is a classic case of over-extraction.
In this scenario, the water spent far too much time with the coffee, pulling out not just the sugars and caramels but all the bitter compounds, too. Your coffee is ground too finely, creating a puck so dense it’s like a brick.
To fix it, you need to speed things up. Just make your grind one step coarser. This will open up a little more space between the grounds, letting the water flow through at a more reasonable pace.
To help you quickly identify what’s going on, I've put together a simple diagnostic chart.
Espresso Shot Diagnostic Chart
Use this quick-reference guide to identify common espresso issues and learn exactly how to fix them.
| What You See or Taste | What's Likely Happening | Your Next Move |
|---|---|---|
| Gushes out fast (<20s), tastes sour/acidic | Under-extraction. Grind is too coarse. | Adjust your grinder finer. |
| Drips out slow (>35s), tastes bitter/burnt | Over-extraction. Grind is too fine. | Adjust your grinder coarser. |
| Time is right (25-30s) but tastes both sour & bitter | Channeling. Uneven puck is causing uneven flow. | Improve puck prep (WDT, level tamp). |
| Thin, bubbly, light-colored crema | Under-extraction or stale beans. | Grind finer first. If that fails, get fresh coffee. |
| No crema at all | Stale beans. Crema is produced by CO2 gas, which dissipates over time. | Buy a bag of freshly roasted beans. |
This chart covers the most common headaches you'll run into. Dialing in your grind will solve most of your problems, but sometimes the issue is a bit more complex.
Understanding Channeling
What if your shot time is perfect—say, 28 seconds—but the espresso still tastes… wrong? A weird, confusing mix of sour and bitter notes? You're probably dealing with channeling.
Channeling happens when water finds a path of least resistance in your coffee puck and punches a tiny river through it. Instead of flowing evenly through all the coffee, most of the water bypasses the puck and rushes through these channels. The result is a messy, uneven extraction: the grounds around the channel get over-extracted (bitter), while the rest of the puck is left under-extracted (sour).
You can often spot channeling as it happens. Watch for blond streaks appearing too early in the shot, or see the espresso spray wildly from the portafilter spouts.
The fix for channeling is all about your puck prep.
- Distribute Evenly: Clumps are the enemy. Use a simple tool like a Weiss Distribution Technique (WDT) tool to break them up and create a fluffy, even bed of coffee. Even a few firm taps on the side of the portafilter can help.
- Tamp Level: Make sure you're tamping on a flat surface and applying firm, even pressure. An uneven tamp creates dense and loose spots, which are basically an open invitation for channels to form.
By focusing on these common issues, you’ll turn frustrating shots into valuable lessons. For a deeper look into how acidity and extraction play together, check out our guide on understanding sourness in coffee.
Creating Classic Café Drinks with Your Espresso

So, you've finally dialed in that perfect shot. Congratulations! Now the real fun begins. With a great espresso in hand, a whole world of café-style drinks opens up right in your kitchen. This is where you get to move beyond the shot and start crafting creamy lattes, frothy cappuccinos, and anything else you can dream up.
The key to unlocking these drinks is perfectly steamed milk. We're not talking about the stiff, bubbly foam you might see spooned onto old-school cappuccinos. The goal is microfoam—a silky, glossy, paint-like texture that integrates beautifully with espresso. It's created by incorporating countless tiny air bubbles into the milk, which not only gives it a velvety mouthfeel but also brings out its natural sweetness.
Choosing and Steaming Your Milk
Not all milk is created equal when it comes to steaming. The fat and protein content directly impacts the final texture, and each type behaves a little differently under the steam wand. Don't be afraid to experiment!
- Whole Dairy Milk: This is the undisputed champion for a reason. Its high fat and protein content make it incredibly forgiving to work with, consistently producing a rich, creamy microfoam that's perfect for pouring latte art.
- Oat Milk (Barista Edition): Hands down the best plant-based alternative. The "barista edition" versions are specifically formulated with fats and emulsifiers to mimic dairy milk's performance, resulting in a wonderfully creamy and stable foam.
- Almond Milk: This one can be tricky. Its lower protein and fat content can lead to a thinner foam that separates quickly. If you're set on almond, seek out a barista-specific blend for your best shot at success.
Whatever you choose, always start with cold milk straight from the fridge poured into a cold pitcher. This simple trick buys you more time to stretch the milk and create that silky texture before it gets too hot—you're aiming for a final temperature of around 140-150°F.
Simple Recipes for Classic Espresso Drinks
Armed with a perfect shot and some beautifully steamed milk, you're ready to start pouring. Here are a few timeless recipes to get you going.
Americano An Americano is a fantastic way to explore the subtle notes of your coffee, especially single-origins. It's just a shot of espresso lengthened with hot water, which opens up the entire flavor profile.
- Ratio: Typically 1 part espresso to 2 parts hot water.
- Method: Pull your espresso shot directly into your mug. Then, gently add hot water (around 175°F is ideal) until it reaches your preferred strength.
- Coffee Recommendation: This is the perfect drink for our bright and complex Bali Blue Single-Origin. The water lets all its unique tasting notes come to the forefront.
Latte The quintessential café drink, a good latte is a comforting blend of bold espresso and sweet, silky milk.
- Ratio: Roughly 1 part espresso to 4 parts steamed milk.
- Method: Pull your shot into a cup. Steam your milk, focusing on creating a vortex to build that velvety microfoam. Gently pour the steamed milk over your espresso.
- Coffee Recommendation: You need a coffee that can stand up to the milk. Our House Espresso blend has the richness and depth to create a perfectly balanced latte every time.
Macchiato Don't confuse this with the caramel-drenched behemoth from big chain coffee shops. A traditional macchiato is pure elegance. The name literally means "stained" or "marked" in Italian—it's just a shot of espresso marked with a touch of foam.
- Ratio: 1 shot of espresso with 1-2 teaspoons of foam.
- Method: Pull your shot. Steam a very small amount of milk and simply spoon the top layer of foam onto the espresso.
Once you start experimenting, you'll find what you love. Why not enjoy your home creations in one of our beautiful ceramic coffee mugs? And for more recipes and brewing tips, be sure to sign up for our email list—it's the best way to stay in the loop
Keep Your Machine Clean, Keep Your Coffee Delicious
So you’ve invested in a great espresso setup. Fantastic! But that investment needs a little protection to keep it running well and, more importantly, to keep your coffee from tasting... off.
Over time, coffee oils get left behind, build up, and turn rancid. At the same time, mineral deposits from your water can form scale inside the machine's plumbing. Both of these culprits will absolutely wreck the flavor of an otherwise perfect shot, introducing bitter, metallic, and just plain stale notes.
Think of cleaning not as a chore, but as the final step in your brewing ritual. It’s what ensures the hard work you put into dialing in your shot actually pays off in the cup.
A Simple Cleaning Rhythm
The key is to make it a habit, not a massive project. Breaking down the tasks into a simple rhythm—daily, weekly, and monthly—makes it feel effortless.
The Daily Wind-Down
These are the non-negotiables you should do every time you finish making coffee.
- Steam Wand TLC: The moment you finish steaming milk, blast some steam through the wand to clear the inside, then give it a good wipe with a dedicated damp cloth. Milk residue hardens fast and can get nasty if left on.
- Portafilter Rinse: Knock out your spent puck, then rinse the basket and portafilter under hot water to get rid of any clinging grounds. Give it a quick wipe.
- Group Head Flush: After removing your portafilter, run a bit of water through the group head. This quick flush clears out any grounds that might have stuck to the screen.
Your Weekly Reset
Once a week, give your machine a slightly deeper clean.
- Backflush with Cleaner: This is the big one. Using a blind basket (one without holes) and a proper espresso machine cleaner, you'll backflush the group head. This process forces the cleaning solution up into the group head and three-way valve, dissolving all those stubborn, built-up coffee oils that a simple water flush can't touch.
Honestly, if your espresso suddenly starts tasting bitter for no reason, a good backflush is often the magic fix. Those old oils are the number one enemy of clean, sweet-tasting coffee.
Long-Term Care
Depending on the hardness of your water, you'll need to tackle scale buildup.
- Descale Your Machine: Every 1-3 months, it's a good idea to run a descaling solution through your machine. Scale can clog pipes, mess with your machine’s temperature stability, and eventually cause serious damage. If you have hard water, stick closer to the monthly schedule.
Sticking to a routine like this is just smart. The home espresso machine market is booming—it's expected to grow from USD 1.5 billion to USD 3.2 billion between 2025 and 2034. That’s a lot of people discovering the joy of home espresso, and knowing how to care for the gear is what separates a frustrating hobby from a rewarding one. You can read more about these compelling market growth projections to understand just how big this community is getting.
Got Questions? We’ve Got Answers.
We get a ton of questions from folks just diving into the world of home espresso. It's a fun journey, but it can feel a little overwhelming at first. Let's tackle a couple of the most common things that come up.
How Much Do I Really Need to Spend on a Grinder?
Honestly, your grinder is where you should invest. A quality burr grinder is absolutely essential for making great espresso, and it's not the place to cut corners.
You should plan on spending at least $200-$400 to get into a solid, entry-level model. It might sound counterintuitive, but you'll get far better results pairing a fantastic grinder with an okay machine than you would the other way around. The grinder does the real heavy lifting.
Help! Why Does My Espresso Taste So Bad?
Don't worry, we've all been there. Your taste buds are your single best guide.
Is the shot overwhelmingly sour, like a lemon? That’s a classic sign your grind is too coarse and the water is gushing through too fast. If it’s brutally bitter and harsh, you've likely ground the beans too fine, pulling out all the nasty stuff.
The fix? Make one tiny adjustment on your grinder at a time. Just one click finer or coarser can be all it takes to find that delicious sweet spot.
By the way, you're not alone in this pursuit. While Europe has traditionally been the biggest market for home espresso machines, the passion is spreading worldwide. The Asia-Pacific region is now the fastest-growing market, proving just how many people are falling in love with this brewing method. You can dig into the numbers and learn more about the global home espresso machine market if you're curious.